Saturday, January 11, 2025
OCI Instance Principals Authentication
Wednesday, May 22, 2024
How to mount an OCI Object Storage Bucket as File System on Linux
OS : Oracle Linux 9
As a pre-request, please make sure that the compartment you are trying to mount the object storage is S3 compatible.
Go to "Governance & Administration --> Tenancy Details --> Edit object storage settings"
Now follow the below steps.
Step 1 : SSH to your application server
Step 2 : dnf update -y
Step 3 : vi /etc/yum.repos.d/oracle-epel-ol9.repo
Step 4 : Update "enabled=0" to "enabled=1" and save the file
Step 5 : yum install s3fs-fuse -y
Step 6 : Login to OCI console and generate your "Access key" and "Secret key" (keep it safe with you)
Step 7 : SSH to application server
Step 8 : vi /home/opc/.passwd-s3fs
Step 9 : Input your Access key id : Secret key id (Both in one line with a colon separated)
Step 10 : chmod 600 /home/opc/.passwd-s3fs
Step 11 : Create bucket in your OCI account (My bucket name is skynet-upload-bucket)
Step 12 : Identify your OCI region identifier (https://docs.oracle.com/en-us/iaas/Content/General/Concepts/regions.htm)
Step 13 : Identify your object storage namespace ("Governance & Administration --> Tenancy Details -->Object storage namespace")
Step 14 : Location of your local path folder in application server (mkdir -p /home/opc/mybucket)
Step 15 : sudo s3fs {oci bucket name} {local path folder} -o endpoint={oci region identifier} -o passwd_file=.passwd-s3fs -o url=https://{object storage namespace}.compat.objectstorage.{oci region idnetifier}.oraclecloud.com/ -onomultipart -o use_path_request_style -o allow_other
Step 16 : Check your mount point (mount | grep s3fs), seems all good.
Step 17 : Now we can test. touch /home/opc/mybucket/testfile.txt
Step 18 : Go to OCI buket (skynet-upload-bucket) and check whether you can see it
Step 19 : Remove the mount point # sudo fusermount -u /home/opc/mybucket
Youtube video about this post : https://youtu.be/QJ6GBPo8F2M
Tuesday, September 26, 2023
How to install OCI CLI in CentOS 8 Stream
How to install OCI CLI in CentOS 8 Stream
The steps mentioned in the internet is not working for me. So this is the working commands.
# yum install python38 -y
# ll /usr/bin/pip3.8
# ll /usr/bin/pip-3.8
# pip3.8 install oci-cli
# oci --version
Monday, August 1, 2022
How to install OCI CLI in windows and push backup to object storage
How to install OCI CLI in windows and push backup to object storage
Documentation link : https://docs.oracle.com/en-us/iaas/Content/API/SDKDocs/cliinstall.htm#InstallingCLI__windows
OCI provides CLI to mange your cloud account. You can do almost all the task which you are doing using console can be done using CLI.
Here, we are going to install CLI on a windows 2019 server and push the backup files to Object Storage.
Login to your windows VM
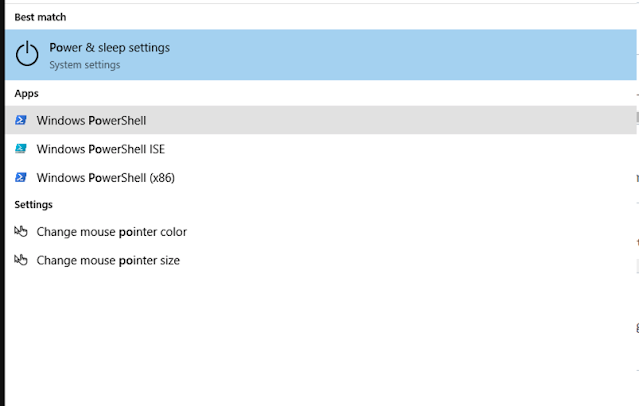
Right click on “Windows PowerShell” and open as administrator.
Issue the following commands
Set-ExecutionPolicy RemoteSigned
Invoke-WebRequest https://raw.githubusercontent.com/oracle/oci-cli/master/scripts/install/install.ps1 -OutFile install.ps1
iex ((New-Object System.Net.WebClient).DownloadString('https://raw.githubusercontent.com/oracle/oci-cli/master/scripts/install/install.ps1'))
Enter the location of your config [C:\Users\opc\.config] :
Enter user OCID :
Chose your DC Region :
Do you want to generate API key : Y
Enter directory for your keys to created [C:\Users\opc\.oci]
Enter a name for your key [oci_api_key] :
Passphrase :
Wednesday, June 22, 2022
How to create Oracle Cloud FREE Trial Account
How to create Oracle Cloud FREE Trial Account
Here is the step by step process.
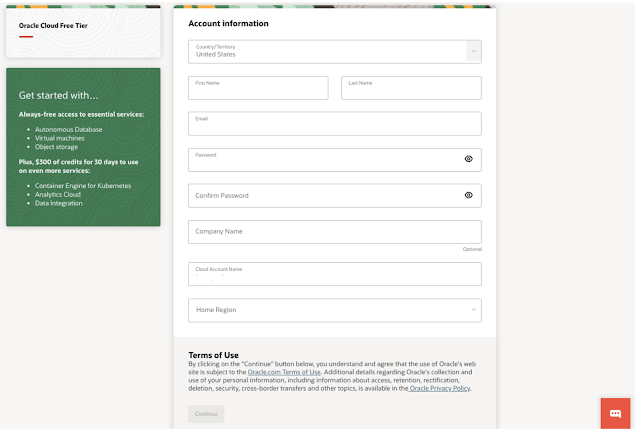
Open a browser and hit ORACLE CLOUD
You will be presented with a registration page.
Go to your email. You will see an account validation email from Oracle in your inbox. The email will be similar to the following
Select the link (if possible) or copy and paste the link into your browser.
Enter the following information to create your Oracle Cloud Free Tier account.
Choose a Password
Enter your Company Name
Your Cloud Account Name will generate automatically based on your inputs. You can change that name by entering a new value. Remember what you wrote. You'll need this name later to sign in.
Choose a Home Region. Your Home Region cannot be changed once you sign-up. Note: Based on the current design of the workshop and resource availability, it is
recommended not to use the London region for this workshop at this time. Click Continue
Enter your Address information. Click Continue.
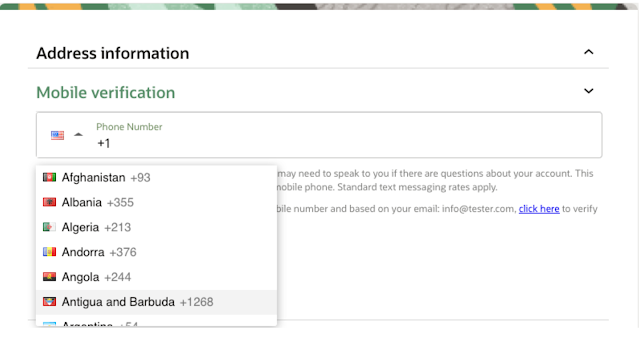
Choose your country and enter a mobile number for verification. Click the Text me a code button.
Once you receive your code, enter it and click Verify My Code.
Click the Add payment verification method button.
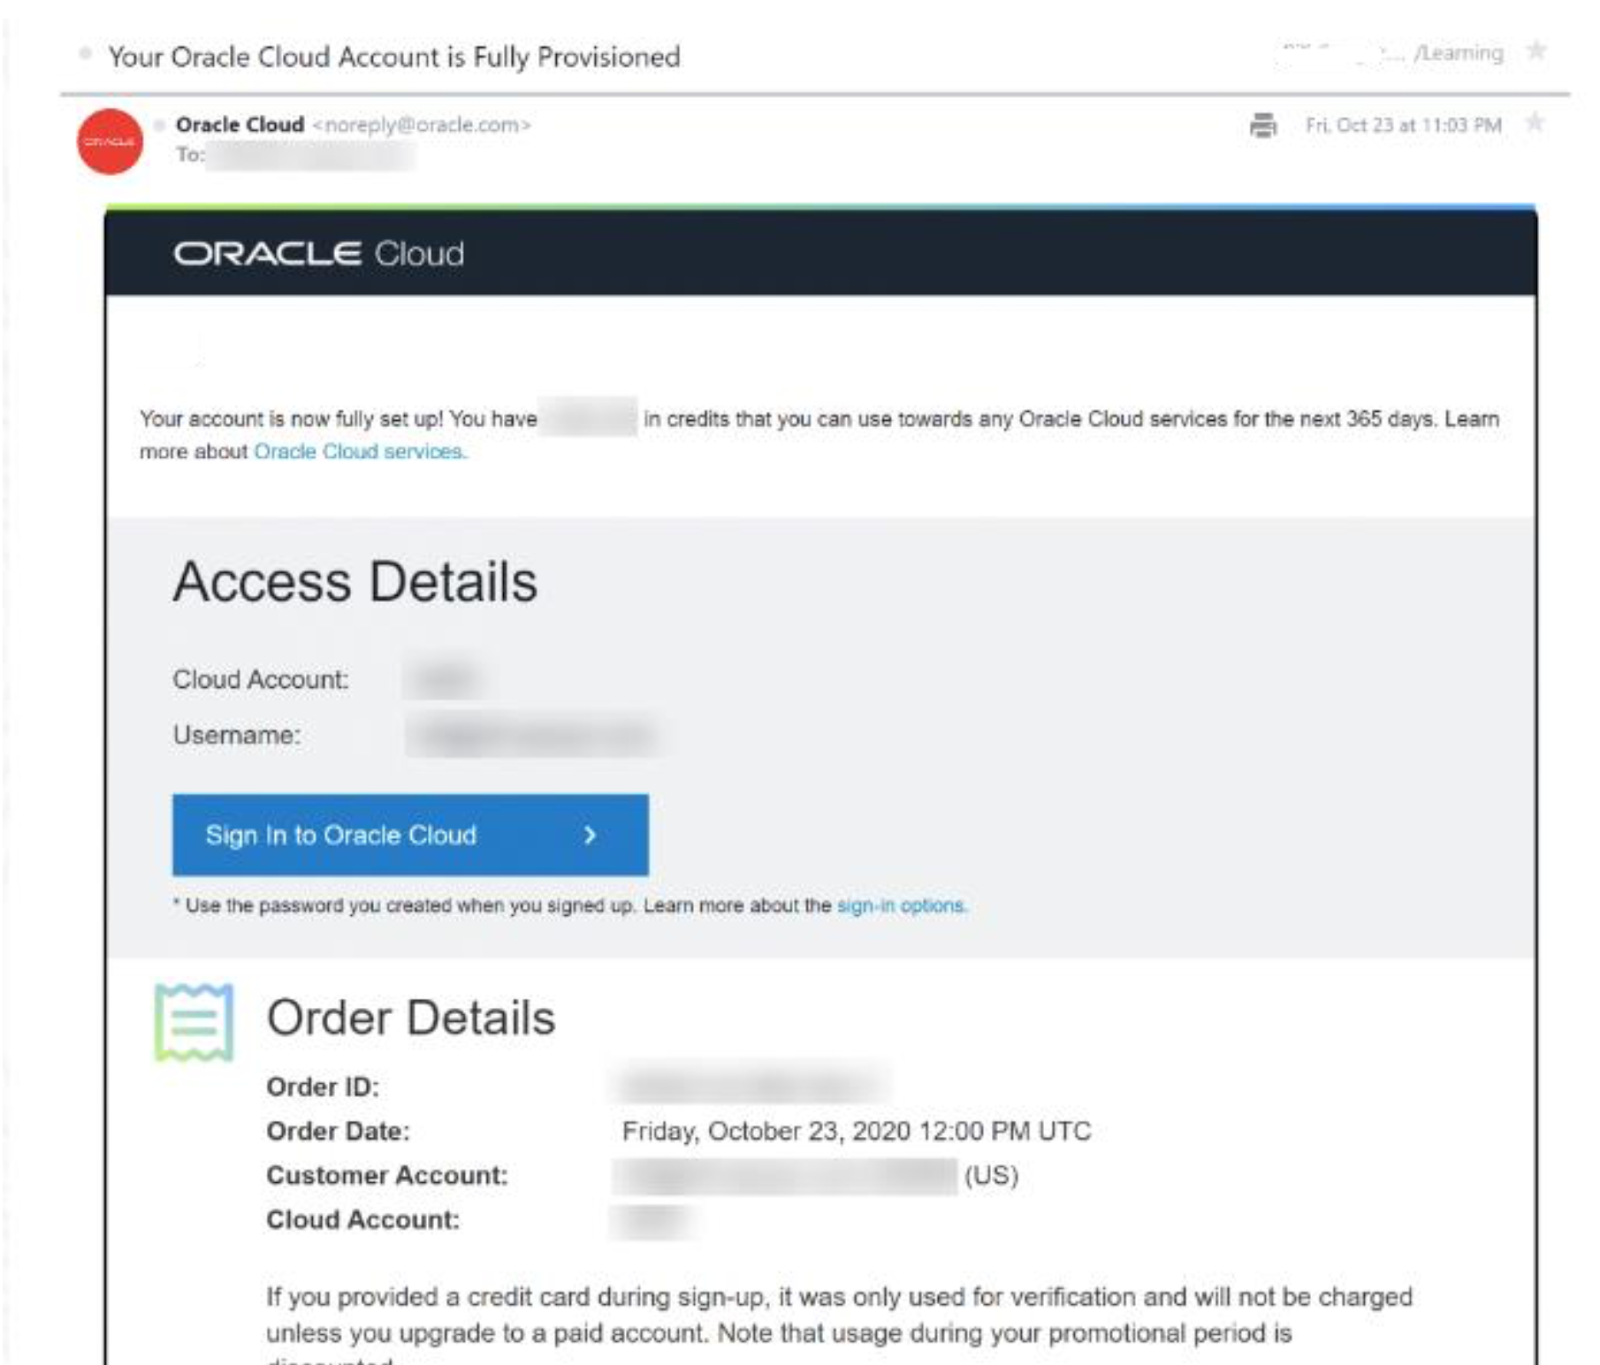
Your account is provisioning and should be available soon! You might want to log out as you wait for your account to be provisioned. You'll receive two emails from Oracle. One email will be the initial notification that provisioning is underway. The other email will be a notification that provisioning is complete. Here is a copy of the final notification:
Saturday, March 26, 2022
InsufficientServicePermissions - Permissions granted to the object storage service principal to this bucket are insufficient
In OCI, Object Storage, I am getting the below error when trying to create "Lifecycle Management Policy" using REST API.
{
"code": "InsufficientServicePermissions",
"message": "Permissions granted to the object storage service principal \"objectstorage-eu-frankfurt-1\" to this bucket are insufficient."
}
Fix the problem:
Create a policy and add the following
Allow group Administrators to read buckets in tenancy
Allow group Administrators to manage objects in tenancy where any {request.permission='OBJECT_CREATE', request.permission='OBJECT_INSPECT'}
Allow service objectstorage-ap-mumbai-1 to manage object-family in tenancy
Thursday, January 27, 2022
How to backup and restore Oracle Integration Cloud (OIC)
How to backup and restore Oracle Integration Cloud (OIC)
Current Environment :
- Oracle Integration Instance
- Standard Edition
- 5K messages per hour
How to backup OIC Integration.
- Login to your OCI cloud account.
- Select "Developer Service" --> "Application Integration" --> "Integration"
- Login to your OCI cloud account.
- Select "Developer Service" --> "Application Integration" --> "Integration"
- Create your new OIC instance.
- Select "Integrations"
Sunday, October 24, 2021
How to connect Oracle Storage account in arcserver
How to connect Oracle Storage account in arcserver?
When I tried to connect OCI Object storage with arcserver, I am getting an error saying failed to connect.
I tried the same credentials with Cloudberry and I encounter an error. But in cloudberry the error shows the reason. Fix for the error is http://www.linuxblackmagic.com/2021/10/authorization-mechanism-you-have.html
After fixing the error, I came to know that the issue is related to "Signature Version". For changing the signature version, there is no option in web. We need to go to "C:\Program Files\Arcserve\Unified Data Protection\Management\BIN\CCI\Config"
then open the file "AmazonPlugin", change the line from true to false
# original
#Set S3SignerType Override to true
SIGNER_OVERRIDE=true
#after change
#Set S3SignerType Override to true
SIGNER_OVERRIDE=false
Then restart the arcserver.
Try to connect, your OCI object storage account will connect now.
Authorization mechanism you have provided is not supported. please use aws4-hmac-sha256
When you work with AWS SDK or AWS S3 compatible storage, during the time of connection settings you may encounter this error
authorization mechanism you have provided is not supported. please use aws4-hmac-sha256
I got this error when I tried to add a storage in Cloudberry tool. The destination is Oracle Object storage.
How to solve this error?
This is because of the signature version used is old. You need to Click on the "Advanced Settings", then on drop down of Signature version, choose 4.
Thursday, April 15, 2021
Attaching Block Volume Storage in Oracle Cloud Infrastructure Instance
Attaching Block Volume Storage in Oracle Cloud Infrastructure Instance
1. Login to your OCI console, search for block volume or from the left hamburger menu, select "Storage" then "Block Volume" then "Create Block Volume"
2. Input your block volume name, compartment, AD, block volume size etc.
3. Once it is created, go to your instance and from left side you can see "Attach Block Volumes" Then you need to make sure the attach type, compartment.
4. At the right of the side, you can see "iSCSI Commands & Information", click on that, you will see the commands to attach the volume to the instance.
5. Login to the linux instance. Issue the above commands. You can see a successful message.
6. Now to identify attach volume or device use unix command lsblk. This command helps you to identify the device for me its /dev/sbd
7. Format the disk using unix command fdisk and make file system using unix commnd mkfs as you want in this case i am gong to make it as ext4 command is mkfs.ext4 /dev/sbb.
8. Create a folder directory for the mount mkdir /data
9. For permanent mounting you need to add an entry in /etc/fstab
/dev/sbd1 /data ext4 defaults,noatime,_netdev 0 2
10. Now we are going to mount. mount /dev/sdb1 /data
That's it. You can verify it using the command df -h
Monday, March 11, 2019
Oracle API Gateway Node installation error on join action
DEBUG:root:Performing dev env SSL related workarounds
ERROR:root:Error: Unable to add grant , reason = ['Traceback (most recent call last):\n', ' File "APIGateway.py", line 2246, in addGrantToUser\n resp = urllib2.urlopen(request,data = addGrantJson,context=sslContext)\n', ' File "urllib2.py", line 154, in urlopen\n', ' File "urllib2.py", line 429, in open\n', ' File "urllib2.py", line 447, in _open\n', ' File "urllib2.py", line 407, in _call_chain\n', ' File "urllib2.py", line 1241, in https_open\n', ' File "urllib2.py", line 1201, in do_open\n', ' File "httplib.py", line 1121, in getresponse\n', ' File "httplib.py", line 438, in begin\n', ' File "httplib.py", line 402, in _read_status\n', "BadStatusLine: ''\n"]
WARNING:root:Gateway runtime user could not be given the requisite node service account grants
INFO:status:complete action: join isSuccess: failed detail: {"status": "NOT_JOINED"}
ERROR:main:Action join has failed. Detail: {"status": "NOT_JOINED"}
INFO:main:Gateway join complete.Status = NOT_JOINED.Please check log files for more details
I am pretty sure that i have the entered Gateway runtime user in the node service account grants of the logical gateway itself.
The gatewayExecutionMode is Development. And, i have checked the status of the gateway node but it looks alright. I have attached the logs as image. I doubt this is related to network. But, could someone please give me a clarity on this ?
Solution :
Check your MTU setting for the network interface of the gateway node machine. It should be 1500. For more details, how to set the MTU to 1500 (http://www.linuxblackmagic.com/search/label/MTU)


