Monday, December 5, 2022

Curl error (37): Couldn't read a file:// file for file:///etc/pki/rpm-gpg/RPM-GPG-KEY-EPEL-8 [Couldn't open file /etc/pki/rpm-gpg/RPM-GPG-KEY-EPEL-8]

 When I tried to run "yum install certbot" on my Oracle linux 8 VM. I got the following error


Curl error (37): Couldn't read a file:// file for file:///etc/pki/rpm-gpg/RPM-GPG-KEY-EPEL-8 [Couldn't open file /etc/pki/rpm-gpg/RPM-GPG-KEY-EPEL-8]


How to fix this?

vi /etc/pki/rpm-gpg/RPM-GPG-KEY-EPEL-8

Open the file https://dl.fedoraproject.org/pub/epel/RPM-GPG-KEY-EPEL-8 in a browser and copy paste the content on the path /etc/pki/rpm-gpg/RPM-GPG-KEY-EPEL-8

Now your yum will work. :)


Wednesday, October 26, 2022

MySQL Error : which is not functionally dependent on columns in GROUP BY clause; this is incompatible with sql_mode=only_full_group_by

 I got mysql error when executing a command

which is not functionally dependent on columns in GROUP BY clause; this is incompatible with sql_mode=only_full_group_by

Solution to fix :

- Login to your server as root

- Open your mysql configuration file (for me its /etc/mysql/mysql.conf.d/mysqld.cnf)

- Add the following code after [mysqld] block

[mysqld]

sql_mode=IGNORE_SPACE,NO_ZERO_IN_DATE,NO_ZERO_DATE,ERROR_FOR_DIVISION_BY_ZERO,NO_ENGINE_SUBSTITUTION

- Restart mysql service ( systemctl restart mysql )

Issue fixed

Monday, September 19, 2022

GIT operations in day to day life

 GIT operations

To configure your name and email in your local settings:


# git config --global user.name "Name"

# git config --global user.email "Email"

git config -l


To Clone the git repo:


git clone https://git-url/project.git


To play around the branches :


git branch

git branch -r

git switch <branch-name> 


To push from local repo to git repo:


# git add .

git commit -m "First commit"

git push -u origin <branch-name> 

Wednesday, September 14, 2022

How to upgrade Prometheus from 2.22 to 2.38 on Ubuntu

 How to upgrade Prometheus from 2.22 to 2.38 on Ubuntu

OS : Ubuntu 16.04 LTS

Prometheus version : 2.22

# /usr/local/bin/prometheus --version

prometheus, version 2.22.0 (branch: HEAD, revision: 0a7fdd3b76960808c3a91d92267c3d815c1bc354)


Confirm that prometheus datas are in # ll /var/lib/prometheus

Take a backup of this data to a safe location


Confirm the path of prometheus and promtool # /usr/local/bin/

Take a backup of this data to a safe location


Stop prometheus and grafana services


# systemctl stop prometheus

# systemctl stop grafana-server


Download the latest prometheus. In my case its 2.38 and I downloaded to /mnt folder.


# cd /mnt

wget https://github.com/prometheus/prometheus/releases/download/v2.38.0/prometheus-2.38.0.linux-amd64.tar.gz

# tar -xvf prometheus-2.38.0.linux-amd64.tar.gz

# cd prometheus-2.38.0.linux-amd64

# cp prometheus /usr/local/bin/

# cp promtool /usr/local/bin/

# chown prometheus:prometheus /usr/local/bin/prometheus

# chown prometheus:prometheus /usr/local/bin/promtool

# cp -r consoles /etc/prometheus/

# cp -r console_libraries /etc/prometheus/

# chown -R prometheus:prometheus /etc/prometheus


Start prometheus and grafana services


# systemctl start prometheus

# systemctl start grafana-server


Check the prometheus version

# /usr/local/bin/prometheus --version

prometheus, version 2.38.0 (branch: HEAD, revision: 818d6e60888b2a3ea363aee8a9828c7bafd73699)

Sunday, August 21, 2022

Yum error : Loaded plugins: versionlock

 [opc@dbdemo ~]$ sudo yum install iptables-services

Loaded plugins: versionlock

There are no enabled repos.

 Run "yum repolist all" to see the repos you have.

 To enable custom repositories:

     yum-config-manager --enable <repo>

[opc@dbdemo ~]$

The above is the error getting while issue yum command. My OS is Oracle Linux 7.9

Solution to fix the error:

Login to the server as root

# wget https://yum.oracle.com/RPM-GPG-KEY-oracle-ol7 -O /etc/pki/rpm-gpg/RPM-GPG-KEY-oracle


# gpg --quiet --with-fingerprint /etc/pki/rpm-gpg/RPM-GPG-KEY-oracle


# vi /etc/yum.repos.d/ol7-temp.repo


[ol7_latest]

name=Oracle Linux $releasever Latest ($basearch)

baseurl=https://yum.oracle.com/repo/OracleLinux/OL7/latest/$basearch/

gpgkey=file:///etc/pki/rpm-gpg/RPM-GPG-KEY-oracle

gpgcheck=1

enabled=1


# yum install oraclelinux-release-el7


# mv /etc/yum.repos.d/ol7-temp.repo /etc/yum.repos.d/ol7-temp.repo.disabled


# yum update -y


Now yum install iptables-services works without any error

References : 

https://yum.oracle.com/faq.html#a10

https://yum.oracle.com/getting-started.html#installing-from-oracle-linux-yum-server


Thursday, August 18, 2022

The GPG keys listed for the "MySQL 5.7 Community Server" repository are already installed but they are not correct for this package. Check that the correct key URLs are configured for this repository.

 OS is Amazon Linux and trying to install Mysql 5.7, I am getting the below error


The GPG keys listed for the "MySQL 5.7 Community Server" repository are already installed but they are not correct for this package. Check that the correct key URLs are configured for this repository.

Fix : 

rpm --import https://repo.mysql.com/RPM-GPG-KEY-mysql-2022

Now run, yum install mysql-community-server

It will work for me.


Monday, August 1, 2022

How to install OCI CLI in windows and push backup to object storage

 How to install OCI CLI in windows and push backup to object storage

Documentation link : https://docs.oracle.com/en-us/iaas/Content/API/SDKDocs/cliinstall.htm#InstallingCLI__windows

OCI provides CLI to mange your cloud account. You can do almost all the task which you are doing using console can be done using CLI.

Here, we are going to install CLI on a windows 2019 server and push the backup files to Object Storage.

Login to your windows VM


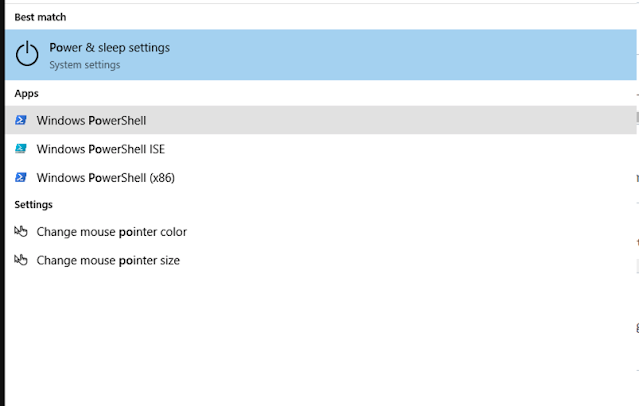
Right click on “Windows PowerShell” and open as administrator.


Issue the following commands


Set-ExecutionPolicy RemoteSigned


Invoke-WebRequest https://raw.githubusercontent.com/oracle/oci-cli/master/scripts/install/install.ps1 -OutFile install.ps1

iex ((New-Object System.Net.WebClient).DownloadString('https://raw.githubusercontent.com/oracle/oci-cli/master/scripts/install/install.ps1'))


This will install Python automatically. OCI CLI is build on Python


Now you can see the oci cli installation is good. 

# oci --version will return the cli version.

Next step is to setup the cli configuration. We need to authorise the configuration to perform actions. This is based on the user permissions.

# oci setup config

Enter the location of your config [C:\Users\opc\.config] :

Enter user OCID : 


Tenancy OCID :


Chose your DC Region :


Do you want to generate API key : Y


Enter directory for your keys to created [C:\Users\opc\.oci]


Enter a name for your key [oci_api_key] :


Passphrase :


Now we need to upload your public key


After this step, you should able to interact with your oracle cloud account using oci cli.

For testing, issue this command

# oci os ns get ( This will return back the namespace of our account)


This means we are good !

How to copy backup files from this windows VM to object storage.


# oci os object put [options]

-bn = bucket name
--file = filename

# oci os object put -bn my-upload-bucket --file mssql-july31.sql

In this example, the backup file is mssql-july31.sql and this should be in the path or you need to add the full path and the bucket name is my-upload-bucket.


Tuesday, June 28, 2022

NFS command to start when server boots up

 OS is Ubuntu20.

I tried to find /etc/rc.local and /etc/rc.d/rc.local but didn't find any.

So i edited crontab -e

@reboot sudo mount 10.0.0.124:/home/ubuntu/f5imagine.com f5imagine.com/


Restart crond


It works


Wednesday, June 22, 2022

How to create Oracle Cloud FREE Trial Account

 How to create Oracle Cloud FREE Trial Account 


Here is the step by step process.

Open a browser and hit ORACLE CLOUD

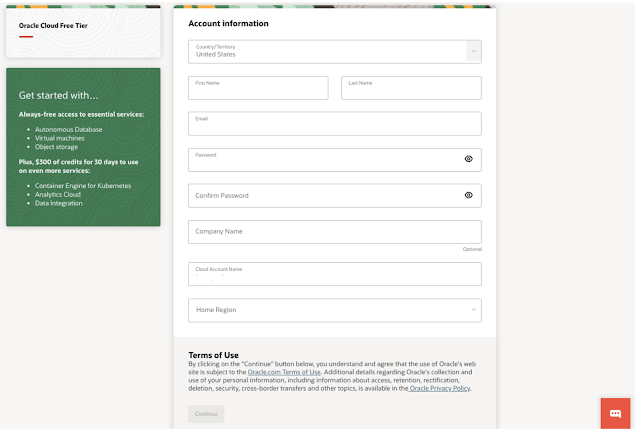
You will be presented with a registration page.


Input the above details.

Once you have entered a valid email address, select the Verify my email button.


Go to your email. You will see an account validation email from Oracle in your inbox. The email will be similar to the following


Select the link (if possible) or copy and paste the link into your browser.

Enter the following information to create your Oracle Cloud Free Tier account.

Choose a Password
Enter your Company Name

Your Cloud Account Name will generate automatically based on your inputs. You can change that name by entering a new value. Remember what you wrote. You'll need this name later to sign in.

Choose a Home Region. Your Home Region cannot be changed once you sign-up. Note: Based on the current design of the workshop and resource availability, it is

recommended not to use the London region for this workshop at this time. Click Continue 


Enter your Address information. Click Continue.


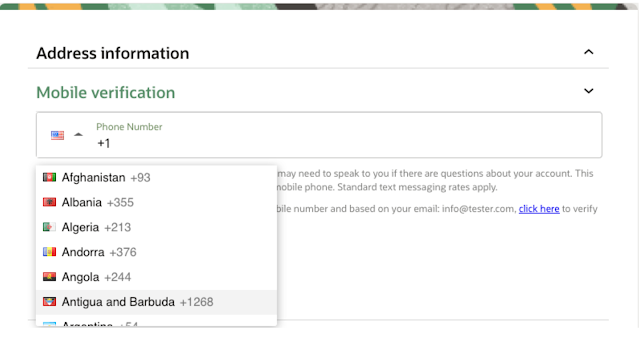
Choose your country and enter a mobile number for verification. Click the Text me a code button.

Once you receive your code, enter it and click Verify My Code.


Click the Add payment verification method button.


Choose the verification method. In this case, click the Credit Card button. Enter your information and payment details.

Note: This is a free credit promotion account. You will not be charged unless you elect to upgrade the account. 

Once your payment verification is complete, review and accept the agreement by clicking the check box. Click the Start my free trial button.


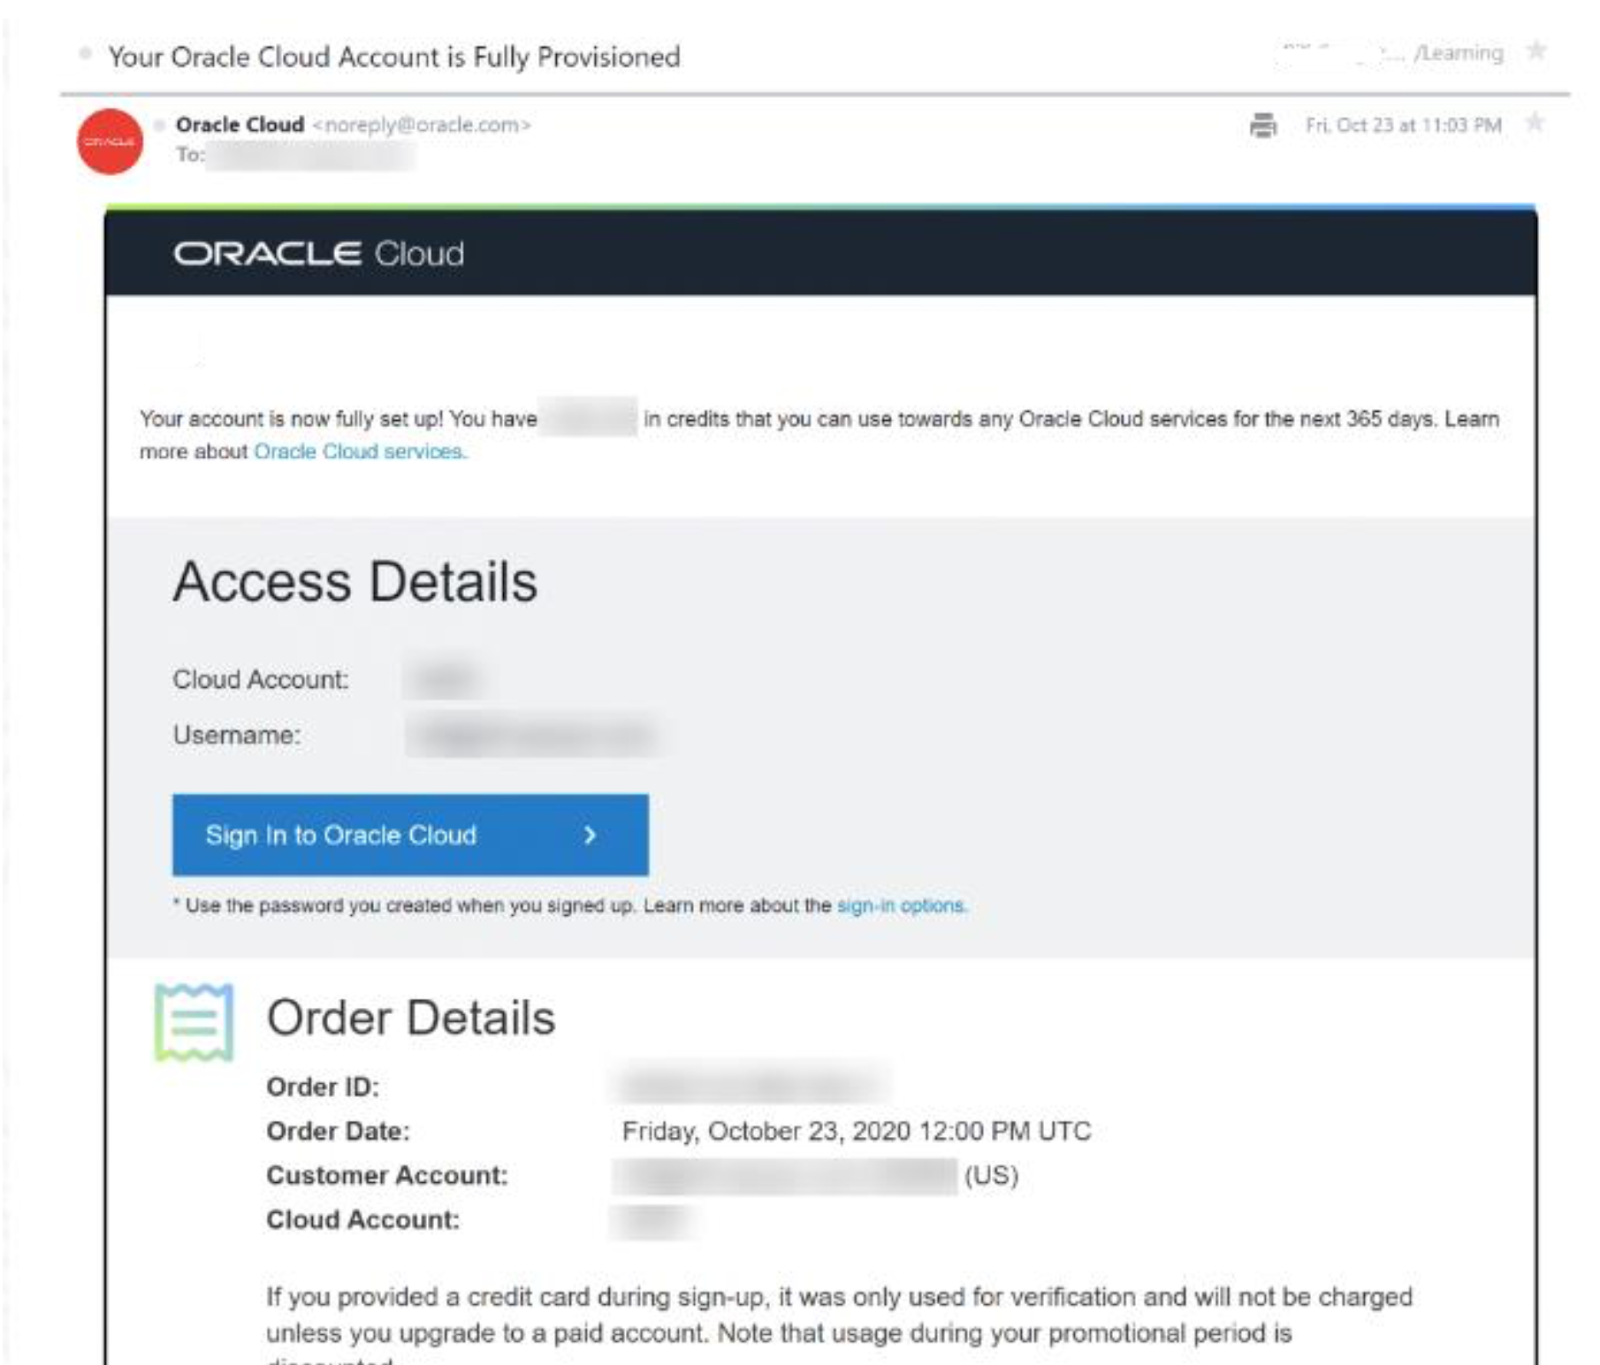
Your account is provisioning and should be available soon! You might want to log out as you wait for your account to be provisioned. You'll receive two emails from Oracle. One email will be the initial notification that provisioning is underway. The other email will be a notification that provisioning is complete. Here is a copy of the final notification:


Wednesday, June 15, 2022

How to setup OCI load balancer

 How to setup OCI load balancer

Here we have 2 webservers. In front of this webservers we will have this OCI LB. Configuration of LB is Weighted Round Robin.

Domain or IP : 1

http://api1v2.f5imagine.org/


Domain or IP : 2


http://api2v2.f5imagine.org/


Login to your to your OCI dashboard. Under Netowking, Load balancer, Create a LB


Now access your LB IP. Each request will go to each web server.

Saturday, March 26, 2022

InsufficientServicePermissions - Permissions granted to the object storage service principal to this bucket are insufficient

 In OCI, Object Storage, I am getting the below error when trying to create "Lifecycle Management Policy" using REST API.

{

    "code": "InsufficientServicePermissions",

    "message": "Permissions granted to the object storage service principal \"objectstorage-eu-frankfurt-1\" to this bucket are insufficient."

}

Fix the problem:

Create a policy and add the following

Allow group Administrators to read buckets in tenancy

Allow group Administrators to manage objects in tenancy where any {request.permission='OBJECT_CREATE', request.permission='OBJECT_INSPECT'}

Allow service objectstorage-ap-mumbai-1 to manage object-family in tenancy


Saturday, March 19, 2022

How to install and setup your Ansible

 We all know that, Ansible is a configuration management tool. Ansible is a simple IT automation tool.

Here in this blog post, I will teach you the very very basic of Ansible.

First of you, I prefer you to install ansible master/control node in your laptop or your workstation.

The installation is very straight forward.

yum install ansible or apt-get install ansible

Verify the version by ansible --version

Configuration file of ansible will be /etc/ansible/ansible.cfg

Let's add one server to your ansible.

Open the file /etc/ansible/hosts

Add the FQDN or IP of the server which you need to install some package to test and save the file.

Ansible works on SSH. Make sure that from your control node/master node you should able to ssh to the other server. If no, please use sshkey password less login.

ansible all -m ping
If you see a response similar to this, then all set you go to your first ansible playbook

aserver.example.org | SUCCESS => {
    "ansible_facts": {
        "discovered_interpreter_python": "/usr/bin/python"
    },
    "changed": false,
    "ping": "pong"
}


Thursday, February 10, 2022

Terraform Error: Failed to query available provider packages

Terraform error when executing terraform init command

 Terraform Error: Failed to query available provider packages

Could not retrieve the list of available versions for provider hashicorp/oci: no available releases match the given constraints >= 4.41.0, ~> 4.59.0


Background:

I got a working terraform project from a friend, when I tried to run in my environment, I am getting this error.


My development environment is oracle developer instance, which is already packed with terraform.


After copying the terraform project, I am trying to do a terraform init


[root@shivin-dev-sg terraform]# terraform init

Initializing modules...

Downloading registry.terraform.io/oracle-terraform-modules/vcn/oci 3.2.0 for vcn...

- vcn in .terraform/modules/vcn

- vcn.drg_from_vcn_module in .terraform/modules/vcn/modules/drg


Initializing the backend...


Initializing provider plugins...

- Finding hashicorp/kubernetes versions matching "~> 2.4.1"...

- Finding latest version of hashicorp/local...

- Finding hashicorp/oci versions matching ">= 4.41.0, ~> 4.59.0"...

- Installing hashicorp/kubernetes v2.4.1...

- Installed hashicorp/kubernetes v2.4.1 (signed by HashiCorp)

- Installing hashicorp/local v2.1.0...

- Installed hashicorp/local v2.1.0 (signed by HashiCorp)

Error: Failed to query available provider packages


Could not retrieve the list of available versions for provider hashicorp/oci: no available releases match the given constraints >= 4.41.0, ~> 4.59.0


[root@shivin-dev-sg terraform]#


What is the issue and how to fix it?


As you can see from the initalizing provider plugins part, the oci plugin version is 4.41.0 but in our provider.tf the version is 4.59.0. This means somewhere in my machine there is a plugin cache. I need to find delete it for fixing this issue.


Steps to solve the issue:


cd /usr/share/terraform/

rm -rf plugins


cd /root

rm -rf .terraform


cd /path-to-your-terraform

rm -rf .terraform.d


Now, do a terraform init, it will works!!